
15 Graduation Cake Ideas That’ll Make the Cap Toss Even Sweeter

Graduation is a significant milestone, and what better way to celebrate than with a stunning cake? Here are 15 graduation cake ideas that’ll elevate your celebration and make your cap toss even sweeter. Each cake design is unique, delicious, and sure to impress your guests. Whether you opt for a classic chocolate graduation cake or a colorful fondant creation, these ideas will inspire your dessert table. From whimsical designs that reflect personal achievements to elegant tiered cakes showcasing school colors, the possibilities are endless. These creative graduation cake ideas are a perfect centerpiece for any graduation party, making the event truly memorable.
1. Ingredients
Basic Vanilla Cake
- Dry Ingredients:
- 3 cups all-purpose flour
- 2 ½ cups granulated sugar
- 1 tablespoon baking powder
- 1 teaspoon baking soda
- ½ teaspoon salt
- Wet Ingredients:
- 1 cup unsalted butter, softened
- 4 large eggs
- 1 tablespoon vanilla extract
- 1 cup buttermilk
- For Frosting:
- 1 cup unsalted butter, softened
- 4 cups powdered sugar
- ¼ cup heavy cream
- 1 teaspoon vanilla extract
- Gel food coloring (optional)
When selecting your ingredients, it is essential to choose high-quality products for the best flavor and texture. Using fresh eggs and real vanilla extract enhances the cake’s overall taste significantly. If you’re looking for alternatives, you can substitute the buttermilk with yogurt mixed with a little water for a similar consistency. Also, consider gluten-free flour if necessary, but keep in mind that it may affect the cake’s texture. You can learn more about this topic.
2. Steps / Instructions
- Preheat your oven: to 350°F (175°C). Grease and flour two 9-inch round cake pans thoroughly to prevent sticking.
- Mix dry ingredients: In a large bowl, whisk together flour, sugar, baking powder, baking soda, and salt until well combined. This step ensures even distribution of the leavening agents throughout the flour.
- Blend wet ingredients: In a separate bowl, cream the softened butter until light and fluffy. Add eggs one at a time, mixing well after each addition to ensure proper emulsification. Stir in vanilla extract, blending until the mixture is smooth and creamy.
- Combine mixtures: Gradually add the dry mixture to the wet mixture, alternating with the buttermilk. Begin and end with the dry mixture. Mix until just combined; be careful not to overmix, as this can result in a dense cake.
- Pour batter: Divide the batter evenly between the prepared pans. Use a spatula to smooth the tops, ensuring a level baking surface for even layers.
- Bake: Place the pans in the preheated oven and bake for 25-30 minutes, or until a toothpick inserted into the center comes out clean. The cakes should be golden brown and spring back when pressed lightly.
- Cool: Once baked, remove from the oven and let the cakes cool in the pans for 10 minutes. Then, turn them out onto a wire rack to cool completely. This cooling period is crucial to prevent the frosting from melting.
- Prepare frosting: In a mixing bowl, beat the softened butter until creamy and fluffy. Gradually add powdered sugar, then heavy cream and vanilla. Beat until fluffy and well combined. Adjust the consistency with more cream or sugar as needed; it should be smooth and spreadable.
- Decorate: Once the cakes are completely cool, place one layer on a serving platter. Spread a layer of frosting on top, place the second layer on top, and frost the top and sides of the cake. For a more polished look, use an offset spatula to create smooth edges.
- Customize: Get creative with cake decorating techniques like piping borders, adding sprinkles, or using fondant to create graduation caps or diplomas. Think about the graduate’s personality and interests when choosing decorations to personalize the cake.
3. Tips & Tricks
- Storage: Store the cake in an airtight container at room temperature for 2-3 days or refrigerate for up to a week. If refrigerated, allow it to sit at room temperature for a bit before serving to enhance flavor.
- Make-ahead: Bake the cake layers a day in advance. Wrap them tightly in plastic wrap and store in the fridge. This can save time and reduce stress on the day of the celebration.
- Avoiding mistakes: Ensure all ingredients are at room temperature for even mixing and better texture. Cold ingredients can lead to uneven mixing and a less fluffy cake.
- Pro technique: To achieve clean layers, use a serrated knife to level the tops of your cakes before frosting. This will help your cake stack evenly and look professionally made.
- Flavor enhancements: Consider adding lemon zest or almond extract to the batter for a unique flavor twist. This can elevate your graduation cake ideas and make them stand out.
4. Variations
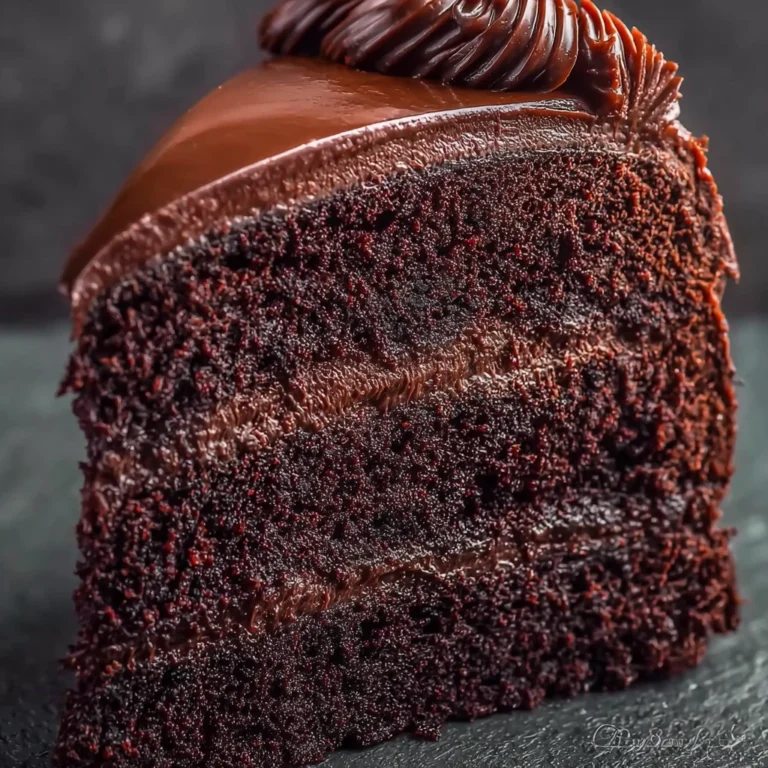
- Chocolate Graduation Cake: Substitute half of the flour with cocoa powder for a rich chocolate flavor. This simple swap can transform the cake into a favorite for chocolate lovers.
- Fruit-topped Graduation Cakes: Add a layer of fresh fruit like strawberries or blueberries between the cake layers for a refreshing twist. This not only adds flavor but also provides a beautiful contrast in colors.
- Unique Cake Flavors: Experiment with flavors like lemon, almond, or coconut by replacing vanilla extract with your desired flavor. This customization can personalize the cake based on the graduate’s taste preferences.
- Customizable Graduation Cakes: Use fondant to create personalized decorations that reflect the graduate’s school colors or interests. This could include school mascots or even the graduation year, making the cake even more special.
5. Serving Suggestions
Present your graduation cake on a beautifully decorated dessert table, surrounded by other graduation party treats like cupcakes and cookies. Pair your cake with a refreshing beverage like lemonade or iced tea to enhance the celebration. For a special touch, consider adding themed graduation desserts such as cake pops or mini cheesecakes to create a delightful dessert buffet. You can also use edible glitter or sprinkles to add a festive touch to your cake, making it visually appealing and celebratory. Additionally, consider using themed plates and napkins to tie the entire presentation together. Check out our related guide for more tips.
6. FAQs
- Can I make this cake in advance? Yes, you can bake the cake layers ahead of time and frost them just before serving. This not only saves time but allows for better planning of your graduation festivities.
- What type of frosting works best? A buttercream frosting is ideal for decorating and holding up well for special occasions. It’s also versatile enough to be colored and flavored as desired.
- How long can I keep the cake? The cake remains fresh for about 2-3 days at room temperature or up to a week in the refrigerator. For longer storage, consider freezing the cake layers before frosting.
Basic Vanilla Cake
A delicious and versatile vanilla cake perfect for celebrations.
Ingredients
- 3 cups all-purpose flour
- 2 ½ cups granulated sugar
- 1 tablespoon baking powder
- 1 teaspoon baking soda
- ½ teaspoon salt
- 1 cup unsalted butter, softened
- 4 large eggs
- 1 tablespoon vanilla extract
- 1 cup buttermilk
- 1 cup unsalted butter, softened (for frosting)
- 4 cups powdered sugar
- ¼ cup heavy cream
- 1 teaspoon vanilla extract (for frosting)
- Gel food coloring (optional)
Directions
Preheat your oven to 350°F (175°C). Grease and flour two 9-inch round cake pans thoroughly to prevent sticking.
In a large bowl, whisk together flour, sugar, baking powder, baking soda, and salt until well combined.
In a separate bowl, cream the softened butter until light and fluffy. Add eggs one at a time, mixing well after each addition. Stir in vanilla extract until smooth.
Gradually add the dry mixture to the wet mixture, alternating with buttermilk. Mix until just combined.
Divide the batter evenly between the prepared pans and smooth the tops.
Bake for 25-30 minutes, or until a toothpick inserted into the center comes out clean.
Let the cakes cool in the pans for 10 minutes, then turn them out onto a wire rack to cool completely.
For the frosting, beat the softened butter until creamy, gradually add powdered sugar, then heavy cream and vanilla. Beat until fluffy.
Once the cakes are cool, frost between the layers and the top and sides of the cake.
Decorate as desired, using piping techniques or fondant.
Nutrition Facts
Recipe Reviews
- ★★★★★
Excellent recipe!
Leave a Reply
Your email address will not be published. Required fields are marked *



Excellent recipe!